The “Webhook Received” trigger is an advanced feature that requires specific configuration. Here’s a step-by-step guide to capture and use its output data, using an example where data sent via Postman is stored in a database via Bika Automation:

Configuration Steps
-
Add the Trigger:
Create a new Automation and select the “Webhook Received” trigger. Click “Save” to generate the unique webhook URL (this URL is only created after saving). -
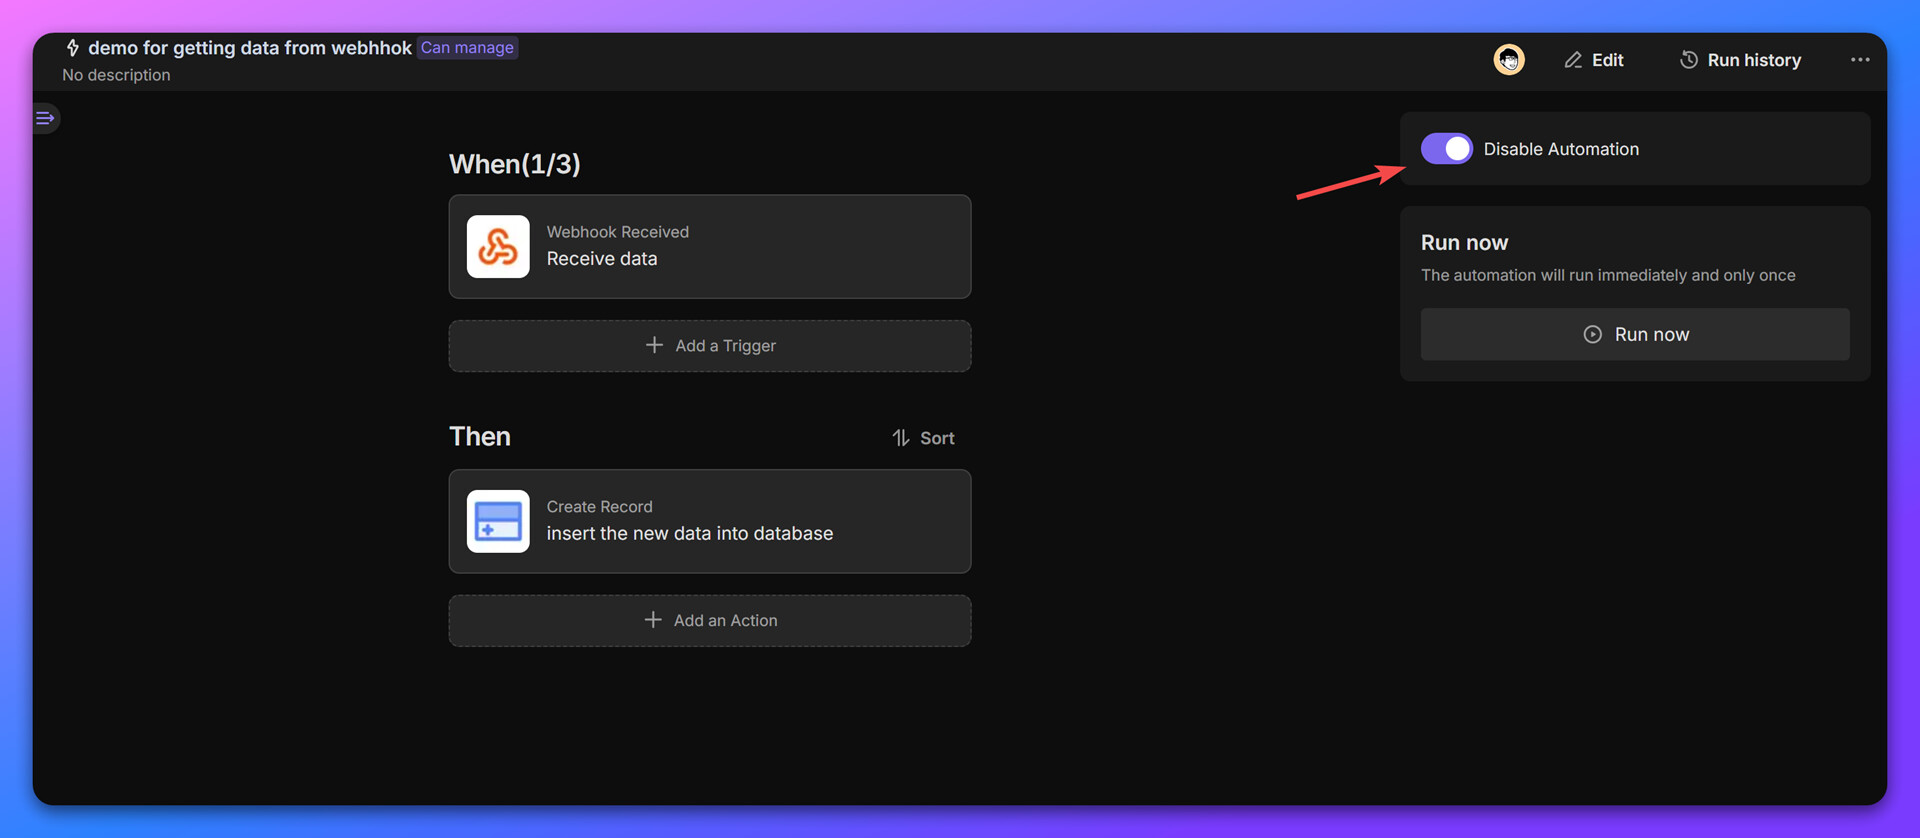
Enable the Automation:
Activate the Automation to make the webhook URL live. If not enabled, requests to the URL will return an error. -
Test with Postman:
Send a POST request to the generated webhook URL using Postman, including a JSON payload (see example image below).or you can use
curlin terminal:curl --location --request POST 'https://bika.ai/api/automation/webhook/{your_trigger_id}' \ --header 'Content-Type: application/json' \ --data-raw '{ "text": "Hello, this is a messsage from the webhook" }' -
Verify Data Reception:
Click the “Run Test” button under the “Webhook Received” trigger editor. If successful, you’ll see the JSON data sent from Postman. -
Create Record Action:


-
Add a “Create Record” Action to write data to your database.
-
Map fields by clicking the gear icon next to each field and selecting “Variable Component”.
-
Choose the output variable from the “Webhook Received” trigger (e.g.,
Triggers/WEBHOOK_RECEIVED/body/text) to reference the incoming JSON.


This workflow ensures seamless data flow from the webhook trigger to your database. Let me know if you encounter issues! ![]()
One More Thing
Using the “Webhook Received” trigger not only allows you to receive data from external systems but also lets you customize the HTTP response sent back to the requester.
When an Automation workflow uses “Webhook Received” as its trigger, it essentially becomes a custom API endpoint with business logic. The output of the last Action in the workflow will automatically serve as the HTTP response to the webhook request. For example:
- If your final Action is “Create Record,” the response will include the output of that Action (e.g., the newly created record’s data).
- Check the Postman screenshot above—the response you see after sending a request to the webhook URL is actually the output of your final Action!
This feature unlocks powerful use cases:
- Return custom status codes or messages (e.g.,
{"status": "success", "id": 123}). - Validate incoming data and send error responses if validation fails.
- Build your own API server with Bika Automation, tailored to your business needs.